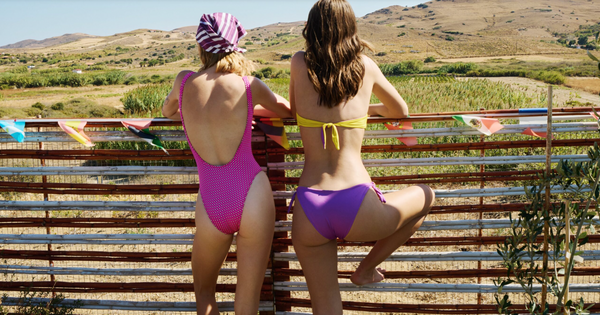
The process by which you end up with a Juliet Dunn piece is startling in this age of mass consumerism and impatience but what begins as an idea and a pattern in London, moves to India or South East Asia and then from region to region.
At each stop in its journey something is added, details particular to the area. It then comes back to London before moving on to its final destination be that the turquoise waters of the Caribbean or the bright city lights of Tokyo.
Everything is handmade!

The collections are hand made in and inspired by various regions of India. They draw on ancient skills in printing and embroidering featherweight silk and cotton.
The materials are so essential to the success of the range that the designers spend over four months of the year working with the artisans, encouraging those skills to stay alive and helping to boost local economies.
The dying process is incredible to witness.

The collections, designs and colour charts have to be ready for when the sun is strongest otherwise the vibrant colours don’t develop enough to be Juliet Dunn – these fabrics really are sun drenched.
The block printing is a true art that has been used for centuries, wonderful to still be using wood to carve patterns and use for adornment. The paisley is a traditional theme and this can be developed to create the most fabulous motifs.
Images that are printed with this technique are typically much bolder than other types of printmaking: since the blocks are carved by hand, there is often less detail and more texture to the prints. It is possible however, when using a very small knife, to carve blocks with a huge amount of detail.
The Printing Process
The first step is to sketch the design. It is important to reverse the image if you are using text, as the printed image will be the reverse of what is on the block. Once you have the image ready, you then transfer the design on to the linoleum or wood (or other materials) to give you an outline of where to carve.
The next step is to carve the design. First you need to carve away the parts that you don’t want to print, as the ink will be applied to the raised surfaces to print the design. Whatever surface is untouched will be what prints onto the paper. Carving a block can take anywhere from an hour for a small piece, to several weeks or even months depending on the size and detail of the image.
Once the block is carved, the excess is trimmed off with scissors to give it a straight edge, and then it is ready for printing. There are many different types of ink on the market, with different results depending on the intensity of them.
To print you can then roll the ink on to the block, making sure there is a thin but even layer on the whole design. Then the block is press onto the paper or fabric. You can do this with your hands, a printing barren (a specific tool to apply pressure to a block), a rolling pin, by walking on it, or with a printing press – whatever it takes to apply even pressure.
The ink then takes several days to dry, so unlike other printing processes, there is a long wait time before the prints are ready to use. The oil based inks can take from two days to a week to fully dry, whereas water-based inks will dry slightly faster. The inks are made to dry slowly so that you are able to print without having the ink dry on the block; if you print with a fast-drying ink or paint, it will sometimes start to dry before you have even finished the print, giving a very uneven coverage.
Block printing is also an excellent way to produce a something that is truly handmade, but can be very easily replicated. Carving the block is time consuming and requires a lot of patience, but once you have the block you can use it hundreds or thousands of times.
Block printing is also one of the easiest printing methods to get started with, since the materials needed to start are relatively inexpensive, and you don’t need a lot of equipment for printing. It’s a great way to get into printmaking!
Maybe a new hobby to pick up?
credit: ohsobeautifulpaper.com


0 comments